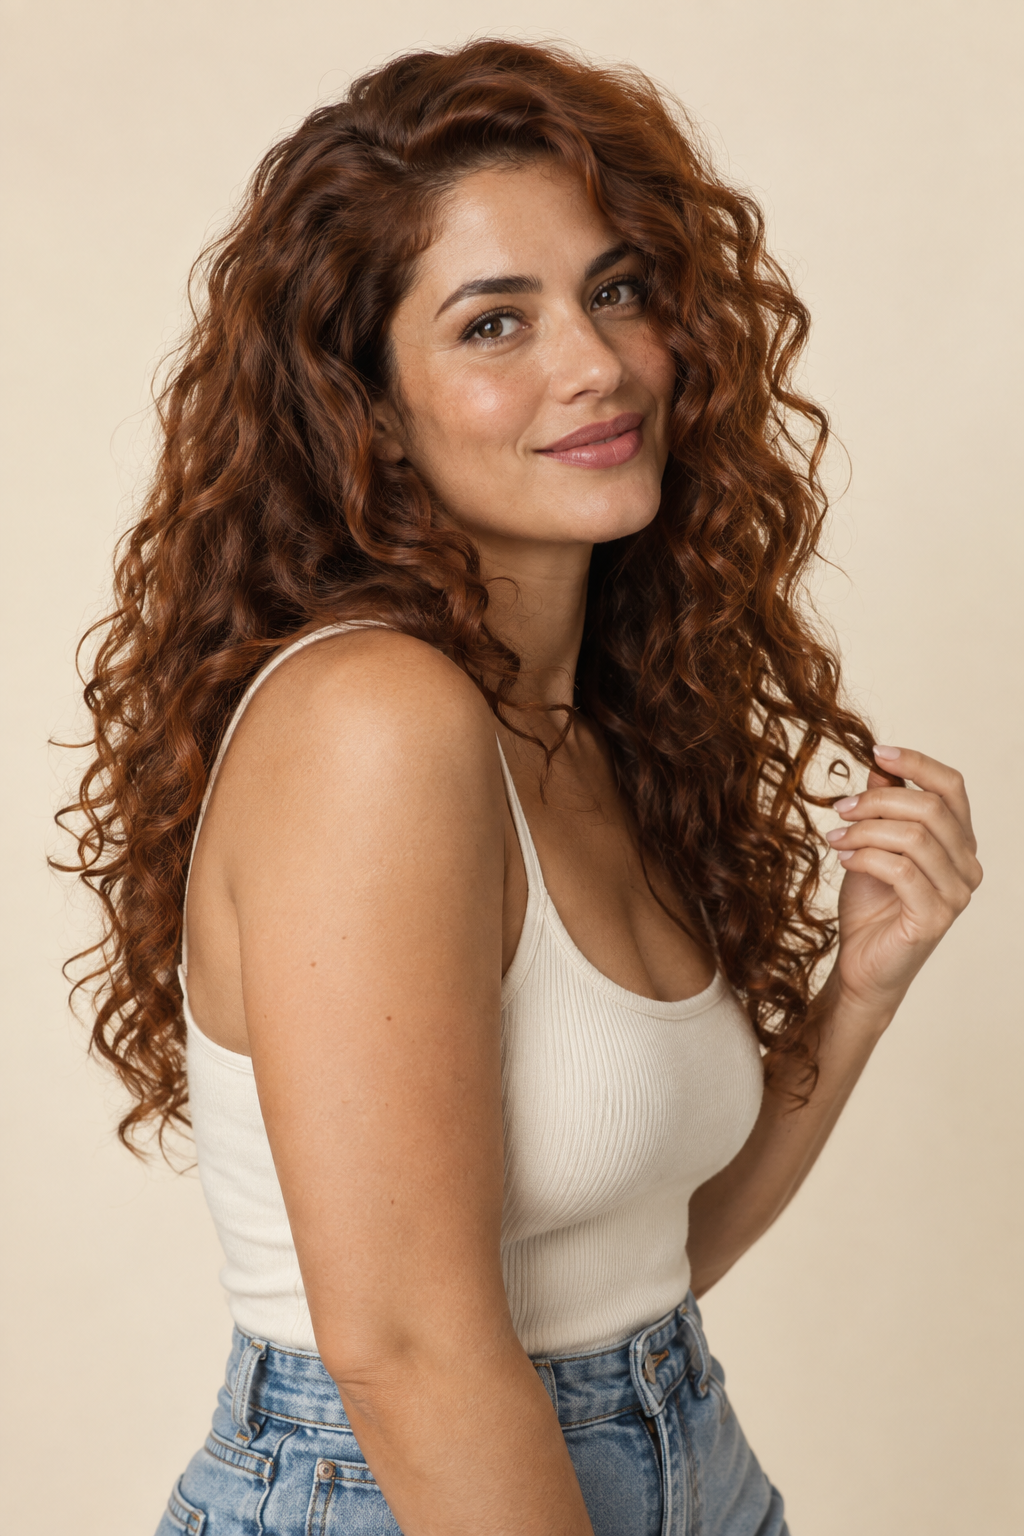
Prepare the Right Photo for AI Hair Color Changing
The first part of How to Use AI Hair Color Changer happens before you press the upload button. The source photo gives the tool the visual information it needs to identify the hair and create a usable result.
Use a clear portrait
Choose a photo where the face and hair are easy to see. The hair should not be hidden behind large objects, heavy motion blur, or extreme shadows.
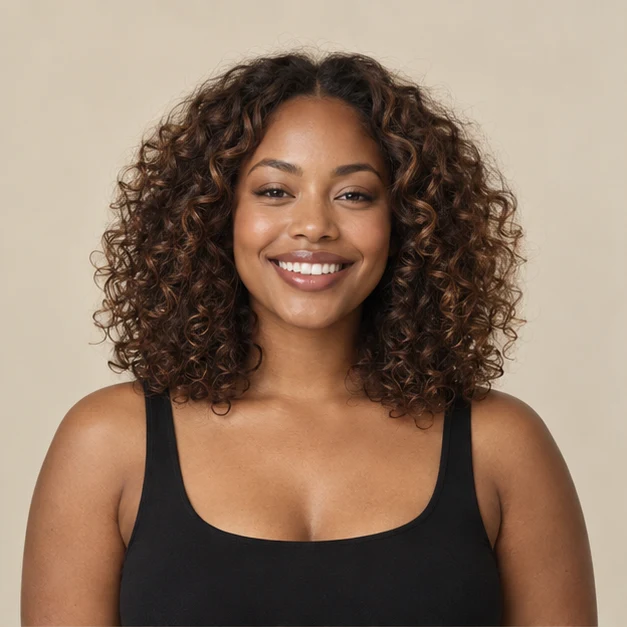
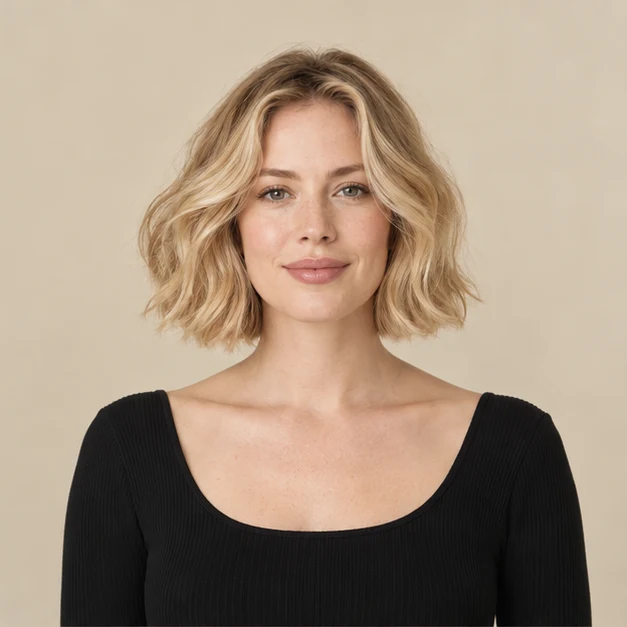
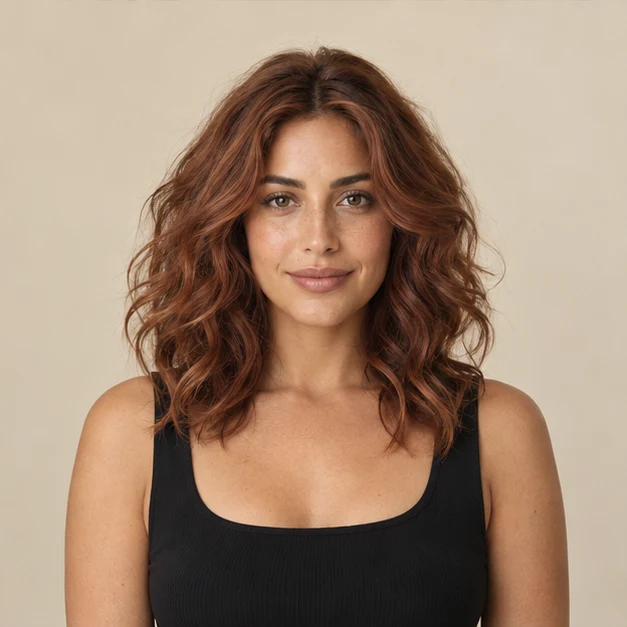
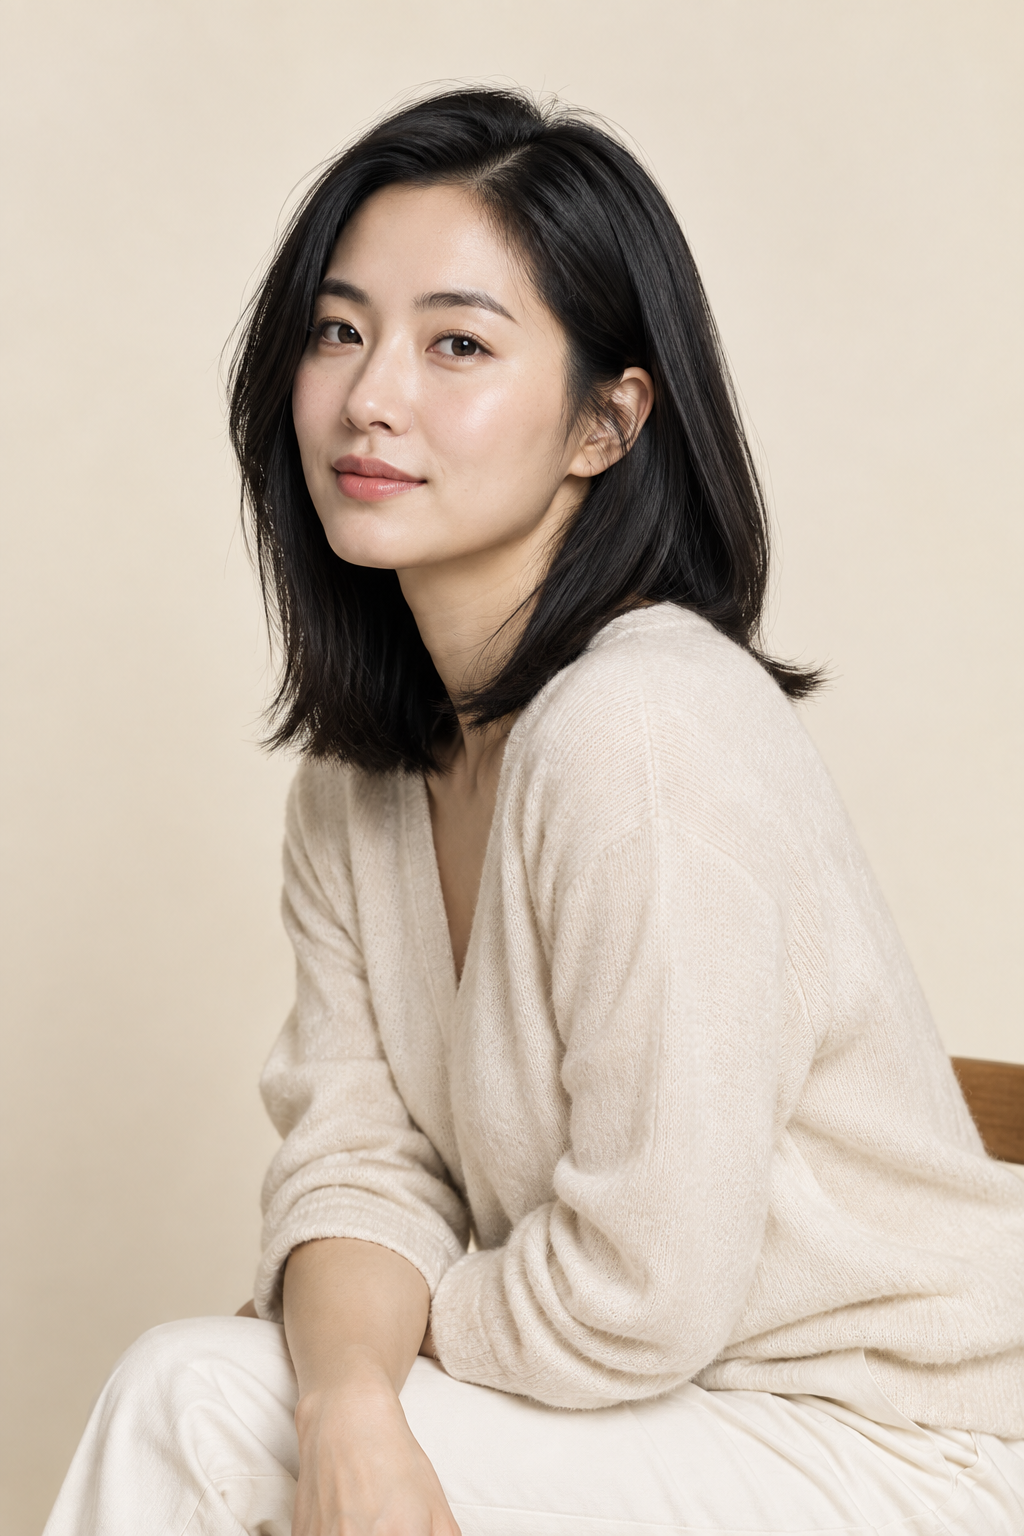
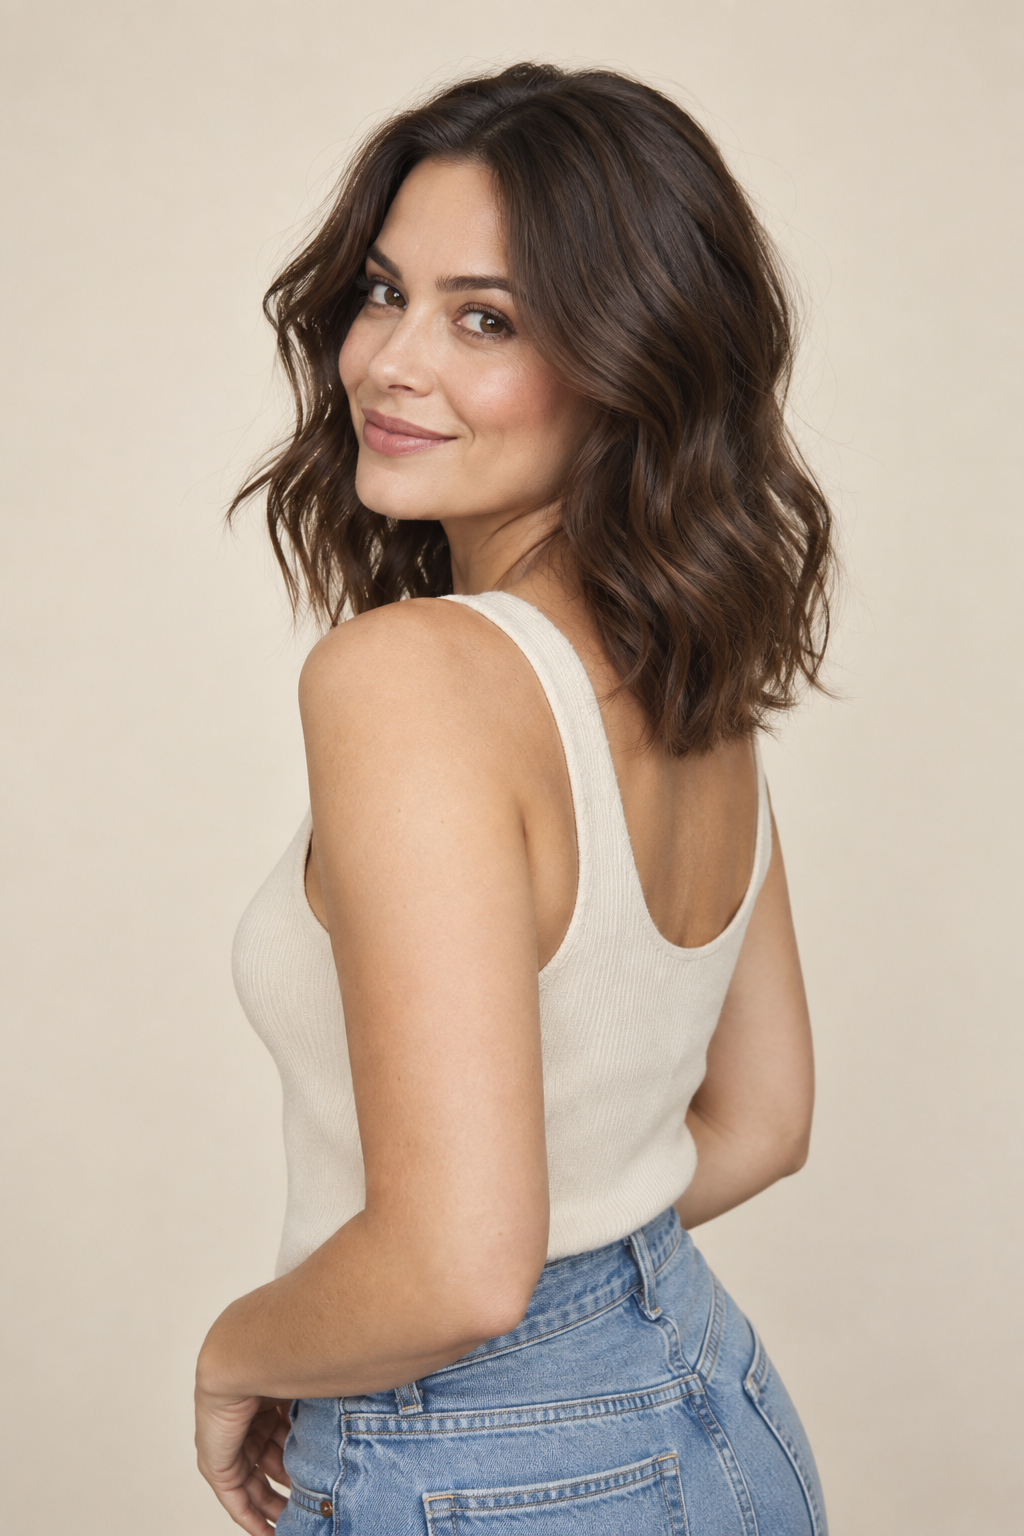
A good best photo for AI Hair Color Changer usually has:
visible hair from the roots to the main outer edges
reasonable image sharpness
balanced lighting
a face that is not heavily obscured
enough resolution to show hair texture
limited compression or blur
Avoid difficult source images
Before learning How to Use AI Hair Color Changer, remove avoidable problems from the source image.
Try not to begin with:
hats covering most of the hair
very dark photos with little visible hair detail
strong colored lighting across the entire head
heavy filters
severe motion blur
tiny or distant faces
hair cropped almost completely out of frame
A complicated source image does not always mean the edit will fail, but it gives the tool less visual information to work with.
Good photo
Avoid
01
Upload the Photo You Want to Recolor
The first active step in How to Use AI Hair Color Changer is uploading the actual image you want to work with.
Open the upload area and choose the supported photo from your device. If drag-and-drop is available, you can place the image directly into the upload field.
The how to upload photo for hair color changer process should remain simple:
Open the upload area.
Select the source image.
Wait for the preview to appear.
Check that the image is oriented correctly.
Confirm that the hair is clearly visible.
Do not continue immediately just because the upload succeeds.
Take a moment to inspect the preview. How to Use AI Hair Color Changer effectively means checking the input before asking the system to process it.
If you uploaded the wrong crop, an overly dark photo, or an image where the hair is mostly hidden, replace it before continuing.
01 UploadExample preview
JPG, PNG or WEBP · Up to 8 MB
02
Choose the Hair Color You Want to Try
The next stage of How to Use AI Hair Color Changer is choosing a color direction.
Use the available shade selector to choose the tone you want to apply to the uploaded image.
02 Choose Color17 hair colors
Natural
Black
Espresso
Chocolate
Chestnut
Blonde
Caramel
Honey Blonde
Golden Blonde
Platinum
Red
Copper
Auburn
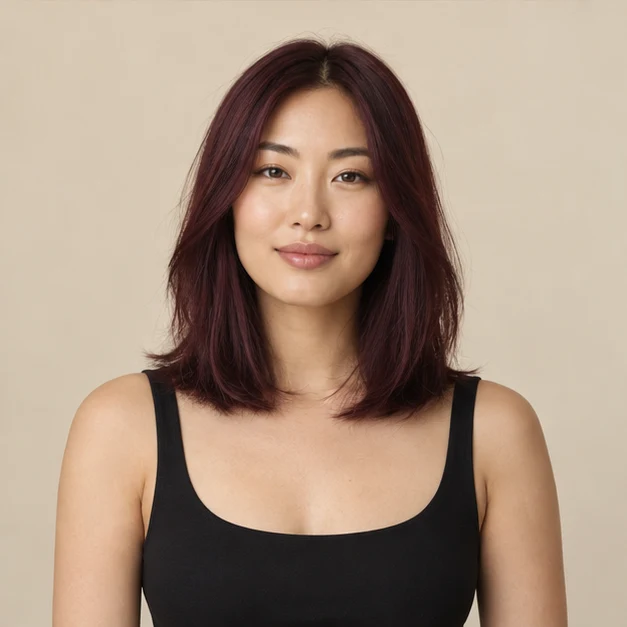
Burgundy
Cherry Red
Creative
Rose Pink
Pastel Pink
Purple
Blue Black
Silver
The goal is not to select every color at once. A better AI Hair Color Changer step by step workflow is to test one clear direction, review it, and then compare another option if necessary.
Start with one defined color family
If you are unsure how to choose hair color in AI Hair Color Changer, begin by deciding whether you want the result to be:
darker
lighter
warmer
cooler
more saturated
more creative
This gives you a clearer starting point than randomly switching between unrelated colors.
If you do not yet know which hair color direction to choose, use the Hair Color Finder first. That page is designed for recommendation intent; this guide stays focused on How to Use AI Hair Color Changer after you have a direction to test.
02 Choose ColorExample preview
Honey Blonde
03
Generate Your New Hair Color
Once the source photo and target shade are ready, the next part of How to Use AI Hair Color Changer is generation.
Start the processing action and allow the tool to apply the selected color to the visible hair.
This is the point where how to change hair color with AI differs from manually recoloring a portrait. Instead of painting over individual areas yourself, the tool performs the main hair recoloring operation for you.
Do not judge the image only from a small preview.
When the generation finishes, inspect:
the hairline
strands near the forehead
hair around the ears
edges near the neck
sections overlapping clothing
bright highlights
darker shadow areas
Understanding How to Use AI Hair Color Changer includes knowing what to inspect after generation, not simply pressing the generate button.
03 GenerateExample preview
Preview My New Look
04
Review the Result Before Downloading
A generated image should always be reviewed before you save it.
This is one of the most important parts of How to Use AI Hair Color Changer because a result can look acceptable at first glance while still containing small problems around edges or highlights.
Check the hairline
Look where the hair meets the forehead, temples, ears, and neck.
The recolored area should follow the visible hair rather than spreading noticeably onto surrounding skin.
Check texture
Look for existing strands, curls, waves, highlights, and shadows.
A convincing result should still preserve enough of the source texture to make the hair feel connected to the original photograph.
Check lighting
The new color should still respond to the lighting already present in the image.
Very bright sections should normally remain brighter than shadowed sections even after the color changes.
Check the rest of the portrait
When learning How to Use AI Hair Color Changer, confirm that the face, clothing, and background have not changed in ways you did not intend.
The central task is hair recoloring. Other areas should remain visually consistent whenever possible.
04 Review ResultExample preview
Hairline · Highlights
Review edges and texture
05
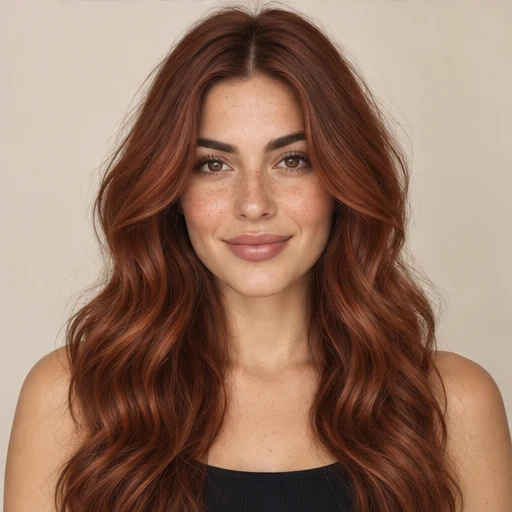
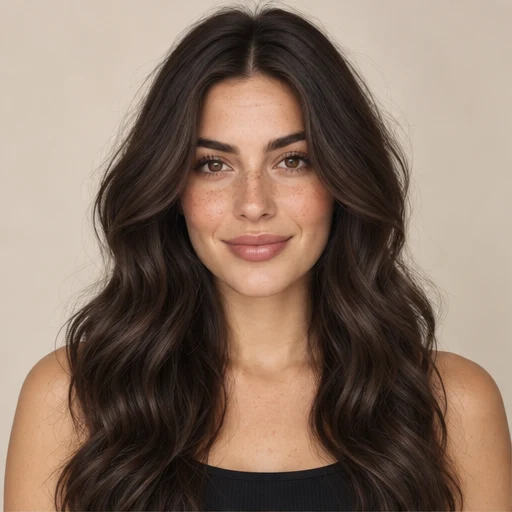
Compare Your Hair Color Before and After
Do not rely on memory when evaluating the edit.
Use the original and generated versions together. How to Use AI Hair Color Changer becomes much more practical when you compare the two images directly rather than looking only at the finished version.
A good how to compare before and after hair color check includes:
overall hair coverage
edge accuracy
brightness
saturation
highlight retention
consistency with the source lighting
whether the change looks intentional
If the tool includes a before-and-after slider, move it slowly across the hair rather than quickly switching between versions.
The comparison is especially useful when the new color is subtle. It lets you see whether the edit actually changed the intended regions without unnecessarily affecting the rest of the image.
05 CompareExample preview
Before
After
✓ Hair Coverage · Edges · Texture · Lighting
06
Adjust Your Hair Color or Regenerate
Not every first result needs to be the final result.
Part of How to Use AI Hair Color Changer is knowing when another pass is useful.
Generate another version when:
the hair color is too strong
the color is too weak
the hairline needs improvement
important strands were missed
the result does not match the selected shade closely enough
the source image itself is making the edit difficult
If intensity or blend controls are available, adjust them before starting again.
A common answer to how to get better AI hair color results is not to add more complexity. Instead, improve one variable at a time.
For example:
Keep the same photo.
Use the same color family.
Change only the intensity.
Generate again.
Compare the two outputs.
This makes it easier to understand what actually improved the image.
06 RefineExample preview
Intensity ━━━●━━ Blend
07
Download Your Finished Hair Color Image
The last step in How to Use AI Hair Color Changer is saving the version you want to keep.
Before downloading, confirm that you have selected the correct generated result.
The how to download AI hair color photo workflow is:
Open the final result.
Review it at the available preview size.
Compare it with the original one last time.
Select the download or save action.
Store the image on your device.
If you want to test another shade, keep the original source photo available. That makes it easier to start a clean second variation rather than repeatedly editing an already modified result.
For current usage limits or credit information, visit /pricing.
07 DownloadExample preview
Download Photo
Small Photo Adjustments Can Improve Hair Color Results
A large part of How to Use AI Hair Color Changer successfully comes down to preparing a usable source image.
Better lighting
Use a photo with enough light to show the separation between individual sections of hair.
Extremely dark hair photographed in heavy shadow can contain less visible detail for the tool to work with.
Keep the hair visible
Move the hair away from large accessories when possible.
The tool cannot reliably recolor hair that is not visible in the image.
Avoid unnecessary filters
Strong beauty filters, color casts, or stylized effects may change the way the original hair appears.
If possible, begin with a more neutral version of the portrait.
Use a suitable crop
A head-and-shoulders portrait usually provides more useful detail than a distant full-body image when your goal is hair editing.
These preparation steps are a practical part of How to Use AI Hair Color Changer, even though they happen before generation begins.
How to Get Better AI Hair Color Results
Once you understand How to Use AI Hair Color Changer, improving consistency becomes easier.
04 Review ResultExample preview
Hairline · Highlights
Review edges and texture
Test related shades together
Instead of comparing black, blonde, purple, and copper at random, compare related shades in groups.
For example:
dark brown vs. chocolate
honey blonde vs. golden blonde
copper vs. auburn
burgundy vs. deep red
This produces more useful visual comparisons.
Judge the whole portrait
Do not zoom in only on individual strands.
A technically clean recolor may still feel too strong or too muted when viewed as part of the whole image.
Keep the source image unchanged
If you want to compare several colors, begin each version from the same original photo.
This is an important part of How to Use AI Hair Color Changer because it keeps every comparison consistent.
Save only useful versions
There is little value in keeping ten nearly identical edits.
Save the strongest options and compare those.
Fix Common Hair Color Editing Problems
Understanding How to Use AI Hair Color Changer also means recognizing common problems and knowing what to change next.
The tool misses part of the hair
Try a source image where the missing region is more visible.
Hair hidden in deep shadow, behind accessories, or against a very similar background can be more difficult to separate.
Color spreads outside the hair
Check whether the source has complicated edges around the face or background.
Use another source image when possible, or regenerate the result if the tool supports multiple outputs.
The new color looks flat
A flat appearance may happen when the selected color overwhelms the original highlights and shadows.
If controls are available, reduce intensity or use a softer blend.
The color looks different from the shade selector
The existing hair color and photo lighting can affect the visible result.
How to Use AI Hair Color Changer is about applying a shade to an existing photograph, not replacing the original lighting conditions.
The result looks blurry
Check the source resolution first.
A higher-quality source gives the process more visible detail to preserve.
The result still does not work
If you are searching how to fix AI Hair Color Changer results, avoid changing every setting at once.
Change one factor:
source photo
color
intensity
blend
Then generate again and compare.
How to Use an AI Hair Color Changer in Seven Steps
For users who already understand the details, How to Use AI Hair Color Changer can be reduced to this workflow:
01Prepare a clear portrait.
02Upload the original photo.
03Choose one hair color.
04Generate the result.
05Inspect the hairline and texture.
06Compare the original and edited versions.
07Download the strongest result.
This short AI Hair Color Changer tutorial is useful when you need a reminder, while the sections above explain why each step matters.
How to Use AI Hair Color Changer FAQ
Start with a clear source photo where the hair is visible. Good input quality makes the rest of How to Use AI Hair Color Changer easier to evaluate.
No. How to Use AI Hair Color Changer is based on a guided upload, selection, generation, review, and download workflow rather than manual masking or professional image editing.
Use a reasonably sharp portrait with visible hair, balanced lighting, and limited obstruction. This is usually the best starting point for How to Use AI Hair Color Changer.
It is usually clearer to test one shade at a time. How to Use AI Hair Color Changer works best as a comparison process rather than a random sequence of unrelated colors.
The original helps you check whether only the intended area changed. Before-and-after review is therefore an important part of How to Use AI Hair Color Changer.
Inspect the hairline, edges, texture, shadows, highlights, face, clothing, and background. This review step is central to How to Use AI Hair Color Changer.
Change one variable and generate again. Learning How to Use AI Hair Color Changer includes refining the result rather than assuming the first output must be final.
Yes. Starting each variation from the same original image makes comparisons more consistent and is a useful part of How to Use AI Hair Color Changer.
Use /what-hair-color-suits-me for personalized color-direction guidance, then return to this How to Use AI Hair Color Changer workflow once you have a shortlist.
Use /change-hair-color-in-photo when your main goal is direct photo recoloring. This page remains focused on How to Use AI Hair Color Changer correctly from start to finish.
Put the Workflow Into Practice
Put this guide into practice: upload a clear photo, choose a shade, compare your result, and download your favorite look.